Dear Diary,
Today, I reminisce on the first time I created a blog post. It was during a very quiet time at work: one of those days I had nothing to do after working round the clock to beat a client's construction contract deadline, with my boss on my neck to ensure that we delivered.
It was really a difficult task creating a blog post at first. I had to surf the web for clues. However, I realized that the internet would only tell you about the rudiments, such as; the procedure for creating a blog post, the essence of pictures and other things like the expected length or word-count of your blog post - that is if you intend monetizing your blog.
It was really a difficult task creating a blog post at first. I had to surf the web for clues. However, I realized that the internet would only tell you about the rudiments, such as; the procedure for creating a blog post, the essence of pictures and other things like the expected length or word-count of your blog post - that is if you intend monetizing your blog.
However, the internet would not tell you about the specific contents for your blog. That comes from your own ingenuity. You have to decide on the content based on the intended purpose of your blog.
I had talked about the essence of choosing a "blogging category" in my first post on how to create a blog... click to read. The blogging category to which your blog belong should reflect on the contents of your blog posts. Be creative and imaginative.
While I leave you to decide on the content of your blog post, below is a step by step explanation of how to create and publish a blog post.
5. Please note that your choice of "post title" is not sacrosanct. You can decide to change it any time either while writing the post or even after publishing the post.
The only disadvantage is that once you have published your blog post, you cannot change the "permalink" (I will talk about this in a later post). However, this is not detrimental to the success of your blog post; you do not need to worry therefore.
Once you have chosen the title, you can then write your blog posts, with pictures.
Another thing you may want to do after writing your blog post and before publishing it is to insert a "jump break". Choose where to insert the "jump break", then go beneath the "post title" box, you will see an icon for "insert a jump break" click on it.
I had talked about the essence of choosing a "blogging category" in my first post on how to create a blog... click to read. The blogging category to which your blog belong should reflect on the contents of your blog posts. Be creative and imaginative.
While I leave you to decide on the content of your blog post, below is a step by step explanation of how to create and publish a blog post.
Sponsored
Steps to creating a new blog post
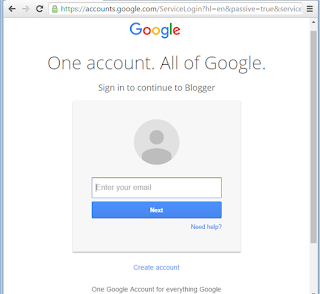
1. As usual, the very first thing to do is to log unto your blogger account. In case you do not have a blogger account, click here to learn how to create an account on www.blogger.com
2. After logging in, then proceed to click on "new post". It is highlighted in orange with a black border in the picture below.
3. Once you click on "new post", a new page will open:
4. Then choose a "post title". Ensure that the post title is catchy and reflective of the what you intend to write on.
Sponsored
5. Please note that your choice of "post title" is not sacrosanct. You can decide to change it any time either while writing the post or even after publishing the post.
The only disadvantage is that once you have published your blog post, you cannot change the "permalink" (I will talk about this in a later post). However, this is not detrimental to the success of your blog post; you do not need to worry therefore.
Once you have chosen the title, you can then write your blog posts, with pictures.
Another thing you may want to do after writing your blog post and before publishing it is to insert a "jump break". Choose where to insert the "jump break", then go beneath the "post title" box, you will see an icon for "insert a jump break" click on it.
Ad
The essence of a jump break is to divide your blog post into two sections. One sections would be visible to any visitor to you blog. It shows a sort of introduction to the post with an inscription beneath it, prompting the reader to "click to read more" (or some variations of the phrase).
Below picture (a) shows how your draft blog post would look after you have clicked on "insert blog post," while the second diagram (b) shows how the blog post would look to a visitor on visit to your blog.
Sponsored
b.
Finally, after you are done writing your post, you can then publish the post by simply clicking on the "publish" icon by the top right-hand side. And your post is online!


No comments:
Post a Comment